The absolute beginner’s checklist of essential sewing supplies
(Sign up for our newsletter to get the downloadable PDF shopping list to complement this article - and other free goodies in the future. Sign-up should appear in 15s.)
Have you just adopted your first sewing machine? Perhaps you’ve been gifted one, or have been considering one for ages.
Maybe you’re just fed up with mass-manufactured, one-shape-fits-none fast fashion, and are ready to take control over your wearables.
Whatever your reasons for beginning your sewing journey, you’re going to need some tools. In this article, I’ll be covering the absolutely essential items you’ll need right from Day 1. FYI, I’m not including fabric, patterns, sewing machines (or machine parts or tools) on this list. Those really rate their own, more detailed post.
With just the twelve tools I’ve listed here, you can get started making your first project. I’ve rated each according to cost and the “worth it” factor of upgrading to a fancier or more expensive version, so you can make the very most of your sewing budget. So read through the list, print out your free shopping list, and get started!
Fabric shears
The wrong shears can derail your sewing journey before it even starts. Bad ones make cutting a frustrating, even painful chore, and also makes accuracy near-impossible – not to mention give you potential repetitive strain injuries!
I started with disposable $15 fabric shears when I was a rank beginner, then “upgraded” to $30 ones, which needed replacing just as often. Both were, in retrospect, mistakes.
I wish I could travel back in time, smack my past self upside the head, and tell me to go without food to buy these $100 professional KAI shears I use to this very day:

There are probably lots of other brands, but I’ve never had to look at them, because these work great and last forever. They can also be sharpened repeatedly (not the case with many cheap shears).
If you absolutely, positively cannot afford pro-quality fabric shears, ask the staff at your local fabric store which options they would use themselves from the display case they most likely have in-store. But really, if you splurged on exactly one sewing tool, this is THE one.
Cost: Extremely variable.
Worth it to upgrade?: Yes. Oh, so very much yes. Don’t bother with the middling grade; you’ll save both money and a world of pain by going straight for the top.
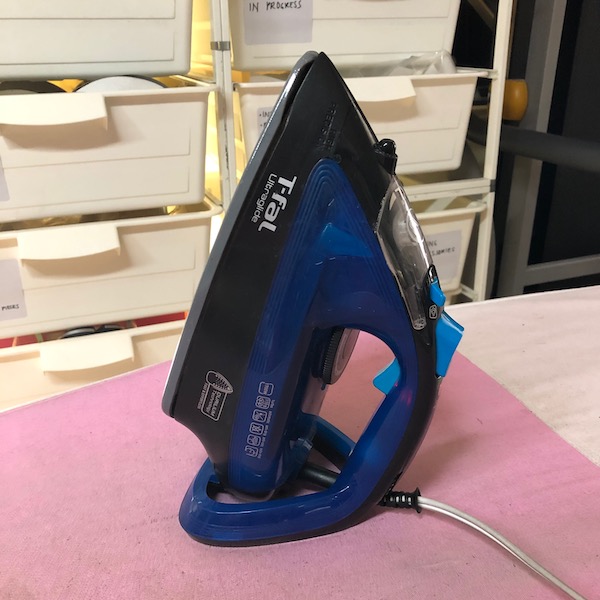
An Iron
This is another tool which can cost either very little, or so much you need to sell your firstborn.
But unlike with shears, I don’t think you need a super-high-end one to start. I’ve personally tried professional steam irons with independent reservoirs for $800, generic drugstore irons for $19.99, and everything in between. I found pros and cons with each one.
Now I use a mid-grade household irons from the supermarket in the $50 to $80 range. They last me a few years each, because I’m a professional sewist and I really give them a workout every day, but yours will probably last longer. Honestly, the one you have now will probably be fine.
Cost: Highly variable, but you probably already have one anyway.
Worth it to upgrade?: Someday, but not today.
Thread
You’ll need several colours of thread to start your basic set; if budget is an issue, I’d go with black, white, and three or four shades of grey. You can use different “values” (the darkness or lightness) of greys for many applications, rather than a colour that matches, so they’re handy to have at the start before you have a rainbow of thread colours.
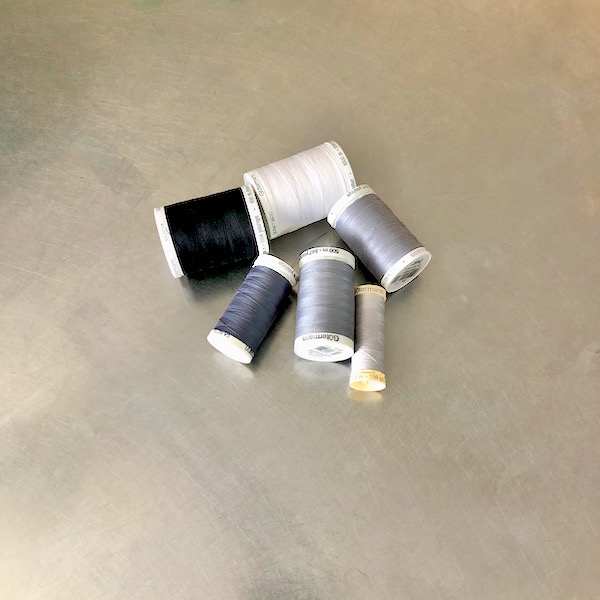
You’ll usually buy thread that matches your fabric before you start each project, and you’ll accumulate a vat collection of colours because you won’t use up every spool.
At this stage, go for 100% polyester all-purpose sewing thread, but stick to a proper brand-name type, not the “3 for 99 cents” specials from the bargain bin. Constant thread breakages are common when you use cheap thread (like I did as a beginner), and it nearly put me off sewing forever!
Gutermann, Mettler, and Coats are acceptable brands I see most often at local fabric stores, but your selection may be different. Don’t be afraid to ask for recommendation from the staff at your fabric store – they sew themselves and will definitely have opinions.
Cost: Depends on the quantity and brand, but it should only be a couple of dollars for 100 metres.
Worth it to upgrade?: Very much yes, given that it’s not that expensive anyway.
Paper Scissors or Shears
These are NOT the same thing as your fabric shears. There is a special level in hell reserved for people who use their good shears on paper, or indeed, anything other than fabric.
You need some basic scissors or shears for cutting your paper patterns, opening your notions packets, and so forth. Almost anything will do, as long as your fingers fit comfortably into the handles and you feel like you have good control over the cutting.
Mine are cheaper shears that I used to use on fabric back when I was a benighted beginner who didn’t know any better:
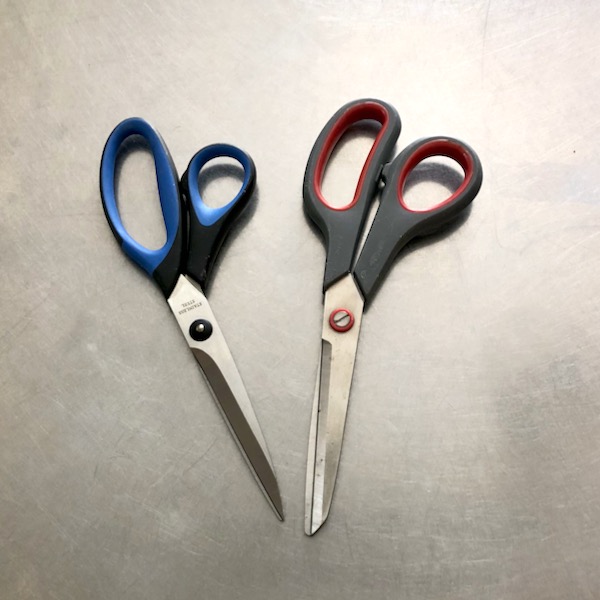
Because paper and many other materials dull blades very quickly, you never want to use really good shears on them. Fabric stores often have sales of decent generic scissors and shears for low prices, or you can just find one anywhere you prefer. Just avoid very cheaply made ones that feel like they’ll fall apart quickly.
Cost: Pretty minimal. I’ve spent under $5 for mine.
Worth it to upgrade?: Not really, but get fairly sturdy ones that feel good in your hands, which don’t necessarily cost more.
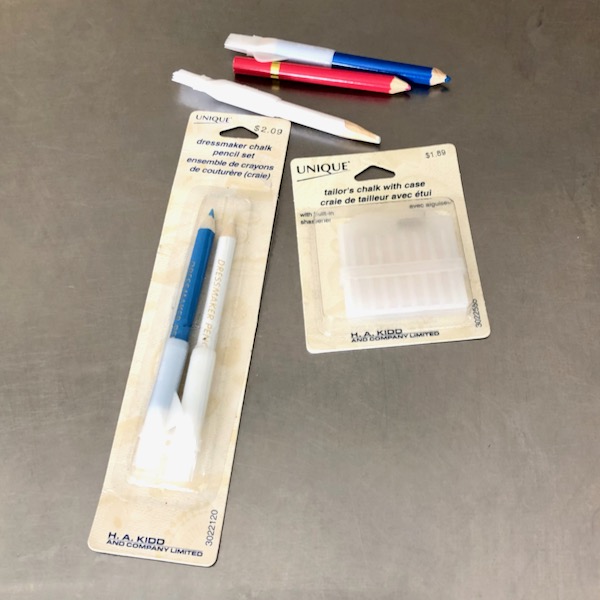
Fabric-Marking Chalk
You need some way to make visible but removable marks on your fabric. This could be a pen with temporary ink, but it’s usually safest to stick with chalk, especially when you’re starting out.
You can find chalk in a wooden pencil form that you have to sharpen, in powder form that you keep in a pencil-shaped case with a little hole that dispenses it, in a thin rod with a holder pen shape, as a square piece in a plastic case, and many others.
Everyone has different preferences, and each type has good and bad points. I personally use this, a thin rod of chalk inside a plastic holder, which marks easily and doesn’t need much sharpening:
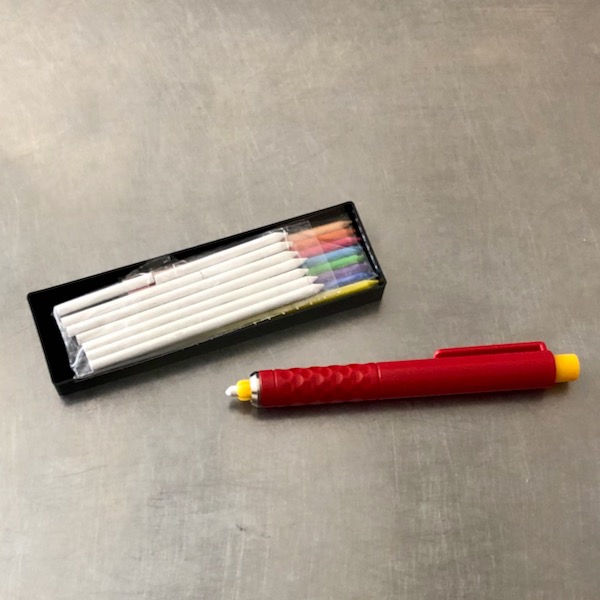
But it’s pretty expensive (nearly $30 a pop, but comes with refills), and you really don’t need anything like this right now. Try out any of the available options at your local fabric store that seem good to you, because only you can decide which you’re going to like in the end.
Cost: Under a dollar to $30 or more.
Worth it to upgrade?: Not yet. Maybe not ever, depending on you.
Pins and pincushion (or other holder)
You’ll need some pins to keep pieces of fabric together while you sew, to mark locations on your work, and for fitting. I’ve never needed more than a couple dozen at a time, but you probably can’t even get that few in a box.
I’m supposed to tell you that you should buy glass-headed pins so you don’t accidentally melt the a plastic-headed one if you forget to remove it before you press.
But I have never done this, even when I barely knew how to stick a pin into fabric, and I still use the plastic-headed pins I bought when I was a starving student with my first sewing machine. These pins are older than some of you reading this:
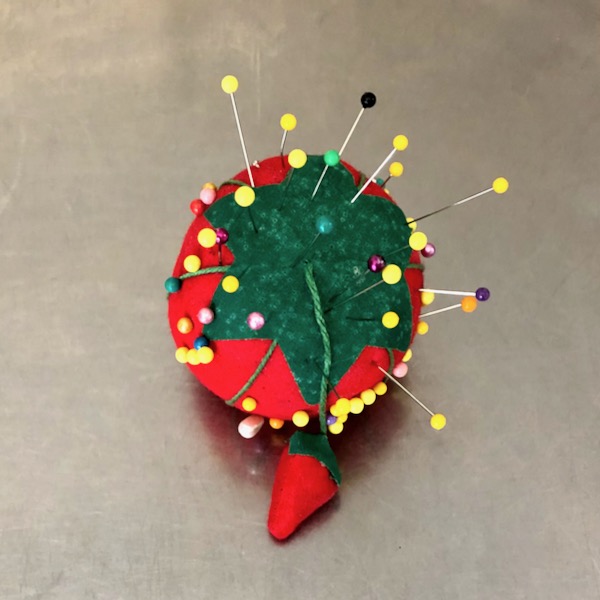
But if it worries you, by all means buy glass-headed ones. And also somewhere to keep them. Some people swear by magnetic pin-holders, but I still use the same tomato-shaped pincushion I always had. Your call.
Cost: A few dollars each for basic pins and a pincushion. Glass-head pins can run a bit higher, like magnetic pin-holders, and you can buy specialty pins and holders for as much as you feel like spending.
Worth it to upgrade?: Meh. I wouldn’t and didn’t.
Hand-sewing Needles
I loathe hand-sewing as a rule, but it cannot be avoided altogether. Sometimes you need to sew on buttons or baste (temporarily stitch) pieces together.
If you have the patience or inclination to get into fine sewing, hand-sewn finished may be necessary. If you don’t have a sewing machine but want to try small projects, then you really need needles.
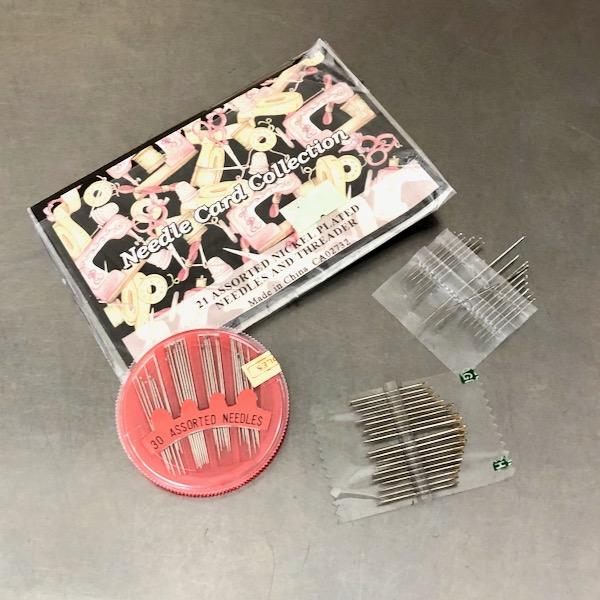
Believe it or not, there are lots of types of needles in different sizes with various tip shapes. But for now, you can just get a general assortment pack, whichever is available at your local fabric store (or craft store, or probably supermarket).
Cost: Less than your morning coffee for a full pack, unless you get into specialty ones.
Worth it to upgrade?: No.
Measuring tape and ruler
I assume you already own a ruler. Doesn’t everyone? A clear one is more useful, given the choice.
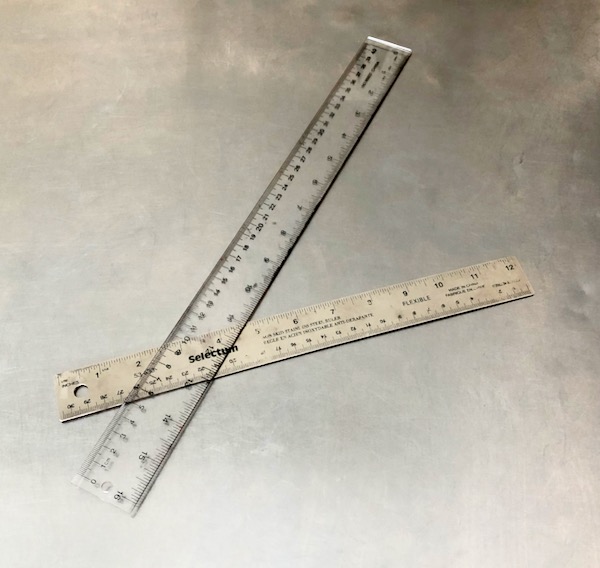
Measuring tapes are basically flexible rulers printed on a flat strip of something (probably plastic). You don’t need anything fancy; any one that you like the look of and find easy to read will be fine. You can find these at fabric stores, craft stores, Walmart, Safeway, Home Depot, etc.
I own at least six tape measures because I’m constantly leaving them somewhere I can’t remember. You probably don’t need more than one. Or two. They’re cheap.
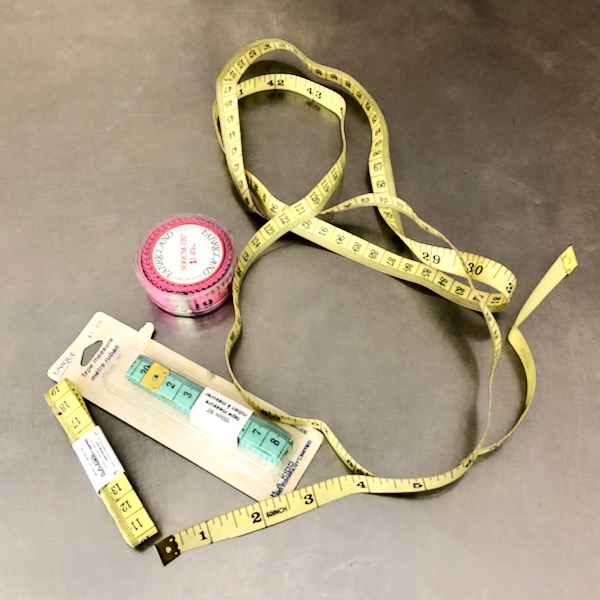
Cost: I got most of mine on sale at the fabric store for 99 cents.
Worth it to upgrade?: Not unless you covet that shiny one with the gold tip and leopard print.
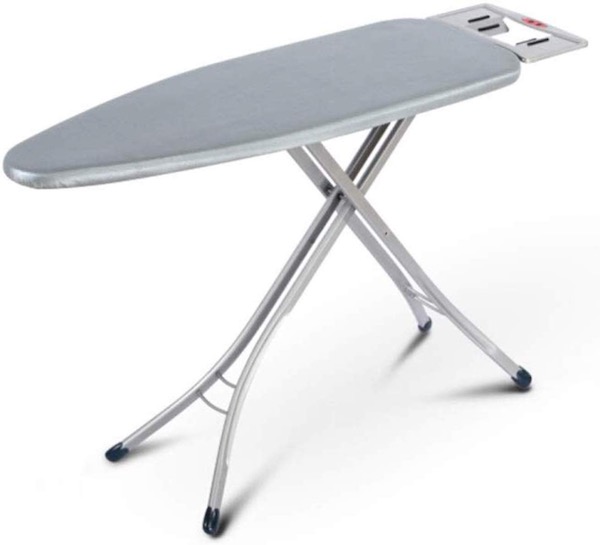
Ironing board
This is another tool that most of us already own. If not, how do you press your clothes?
If you haven’t already got one, get thee to anywhere you can find housewares and pick out whichever one you like. You can go as fancy or specialized as you want, or not.
Mine is a generic board from a Superstore I bought in the last millennium for not very much. Assuming you don’t choose a truly shoddy one, it should last a very long time, except that the fabric cover will get a bit tatty over time.
I re-covered mine a couple of times over the years, and the good news is that it’s a simple project that you can easily learn to do yourself! By the time your first ironing board cover needs replacing, you’ll be able to do it blindfolded.
Cost: Anywhere between about $20 to $100 and up for the fancy versions.
Worth it to upgrade?: As long as the one you pick is sturdy enough, not really.
Seam Rippers
Unlike most of the other tools on this list, these might be totally unfamiliar to you.
But get ready to make friends with your seam rippers, because you’re going to use them an awful lot. The pointy bit goes under a stitch, then you slide it in until the thread hits the sharpened edge.
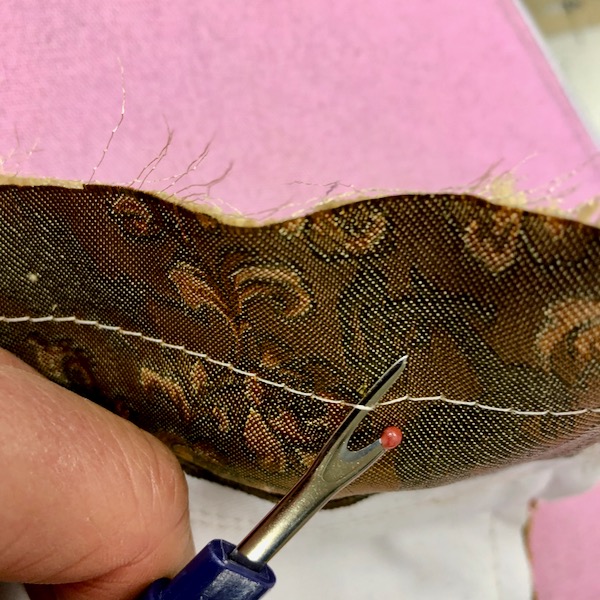
It’s tedious and persnickety, but it’s the only safe way to remove stitches, either because you made a mistake or because you need to take out basting (temporary) thread.
There are several different sizes and shapes of seam rippers, but the basic one will work fine for now. Later on, if you’re so inclined, you can experiment with the more obscure types. I’ve done this now and again and I always end up going back to the generic one, though that may be because I keep losing them.
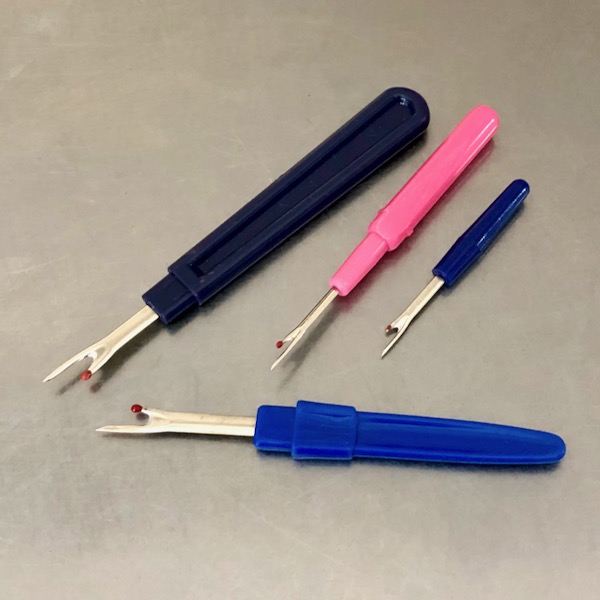
Cost: Very low for the common kind. Probably $2-4, give or take.
Worth it to upgrade?: Maybe someday. Not now.